Easily Replace Keycaps on Your Apple MacBook
How to Replace MacBook Keycaps: A Step-by-Step Guide for Beginners
If you’re a MacBook user, you know how much you rely on your keyboard. Whether you’re typing up work documents, chatting with friends, or simply browsing online, it’s one of the most-used parts of your laptop. But like anything that gets daily use, keyboard keys can start to wear out, stick, or even pop off.
The good news? You don’t need to replace the entire keyboard. In most cases, you can replace individual keycaps at home with just a few tools and a bit of patience.
This guide is designed for beginners. Follow these steps and you’ll have your MacBook looking and feeling like new again.

What Is a Keycap?
A keycap is the physical part of a key that your fingers touch. Beneath each one is a hinge mechanism and a rubber or silicone dome that registers your key press. Apple has used different hinge styles over the years—most notably the scissor switch (used on most models) and the controversial butterfly switch (found in models from 2015 to 2019).
The good news is: no matter the mechanism, the basic steps for replacing a keycap remain roughly the same. You just need to be a bit more delicate if you’re dealing with a butterfly-style keyboard, which is known for being more fragile.
What You’ll Need
-
Replacement keycaps designed for your specific MacBook model. Use the key finder form found on our homepage to find the correct key for your MacBook.
-
A key remover tool (or any other thin plastic tool).
-
A soft cloth, brush or compressed air to clean under the keys.
If you’re unsure of your MacBook model number, you can find this amongst the small print text on the bottom casing of your device and it will look something like A2442 in the format AXXXX.
Step 1: Identify Which Keys Need Replacing
Take a look at your keyboard. Common signs that a keycap needs replacing include:
-
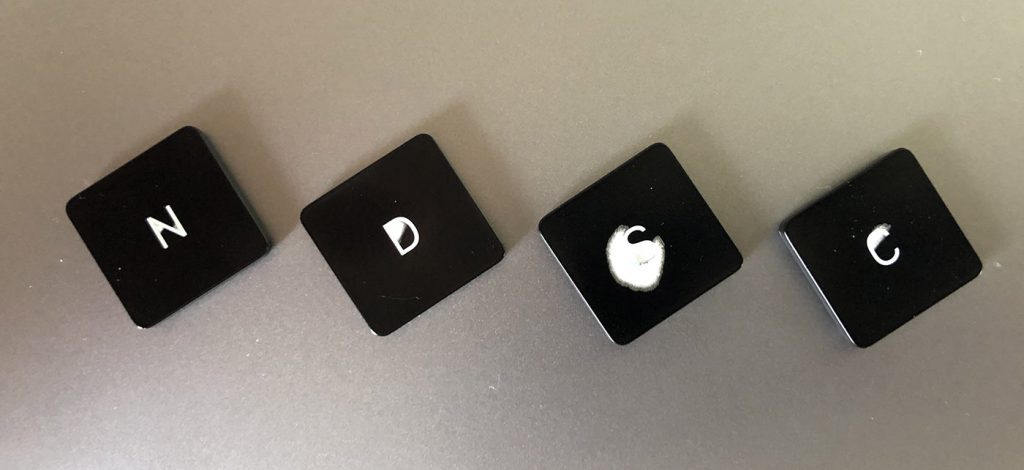
Faded or worn lettering
-
A sticky or uneven feel when pressed
-
Keys that pop off or won’t stay attached
-
Visibly damaged plastic
Step 2: Buy the Correct Replacement Keycaps
This is the most important part. Apple’s key designs vary slightly depending on model and year.
Step 3: Gently Remove the Damaged Keycap
Start by powering off your MacBook to avoid accidental key presses.
Use your plastic tool to carefully lift the keycap from the corner. If you’re working with a butterfly keyboard, be especially gentle – the hinges underneath are thin and prone to snapping.
Our video guide for Scissor Switch Keyboards
For most regular, square alphanumeric keycaps, the key should lift from the bottom right corner with a light pop. However, this will vary for the other shape keycaps. Watch our instructional video guide on how to replace every single keycap:
Our video guide for Butterfly Keyboards
For most regular, square alphanumeric keycaps, the key should lift from the bottom right corner with a light pop. However, this will vary for the other shape keycaps. Watch our instructional video guide on how to replace every single keycap
Avoid using metal tools like screwdrivers unless you’re experienced, as they can scratch the casing or damage the hinge.
Step 4: Check the Hinge Mechanism
Once the keycap is off, inspect the hinge. If it’s intact and still clipped in place, great – you can go ahead and install the new keycap. If the hinge has popped off or looks broken, you may need to replace it as well (all of our keycap replacements come with the clip too!).
The hinge typically clips in at four points. If you’re replacing it, use tweezers or a steady hand to line it up properly before pressing it into place.
Step 5: Install the New Keycap
Line the new keycap up over the hinge. Once you’re sure it’s in the correct position:
-
Press gently but firmly in the centre.
-
You should hear a light click.
-
Press around the edges to make sure it’s seated evenly.
Test it by tapping lightly—it should feel just like the surrounding keys.
Step 6: Clean Up and Test
While you’ve got the key off, it’s a great time to give the area a quick clean. Use a soft brush or a can of compressed air to remove dust and debris. Once everything’s back in place, turn on your MacBook and test the replaced key(s) in a document or browser.
Final Tips
-
Be gentle. Most issues with key replacement come from forcing things.
-
Don’t rush. If a key doesn’t clip in properly at first, try again rather than pushing harder.
Conclusion
Replacing a keycap on your MacBook is one of the simplest hardware fixes you can do yourself. It takes just a few minutes and can make a huge difference to your typing comfort. Whether you’re restoring a single key or refreshing your whole keyboard, this process can save you time, money, and hassle.
If you’ve been putting off a repair, now’s the time to dive in. You might just surprise yourself with how easy it is.


